Team current Progress
This page is used to update the teams current progress. This will be updated every Friday with pictures and captions to demonstrate the team achievements or setbacks.
12/1/2019
We will be presenting our final design at woody mountain wednesday.
11/24/2019
Happy Thanksgiving
Everyone please enjoy your Thanksgiving but rest assured that the team is really stressed out because this is really cutting into our work time. The posters will be finalized and purchased by Tuesday of this week and the presentation will be completed..
11/17/2019
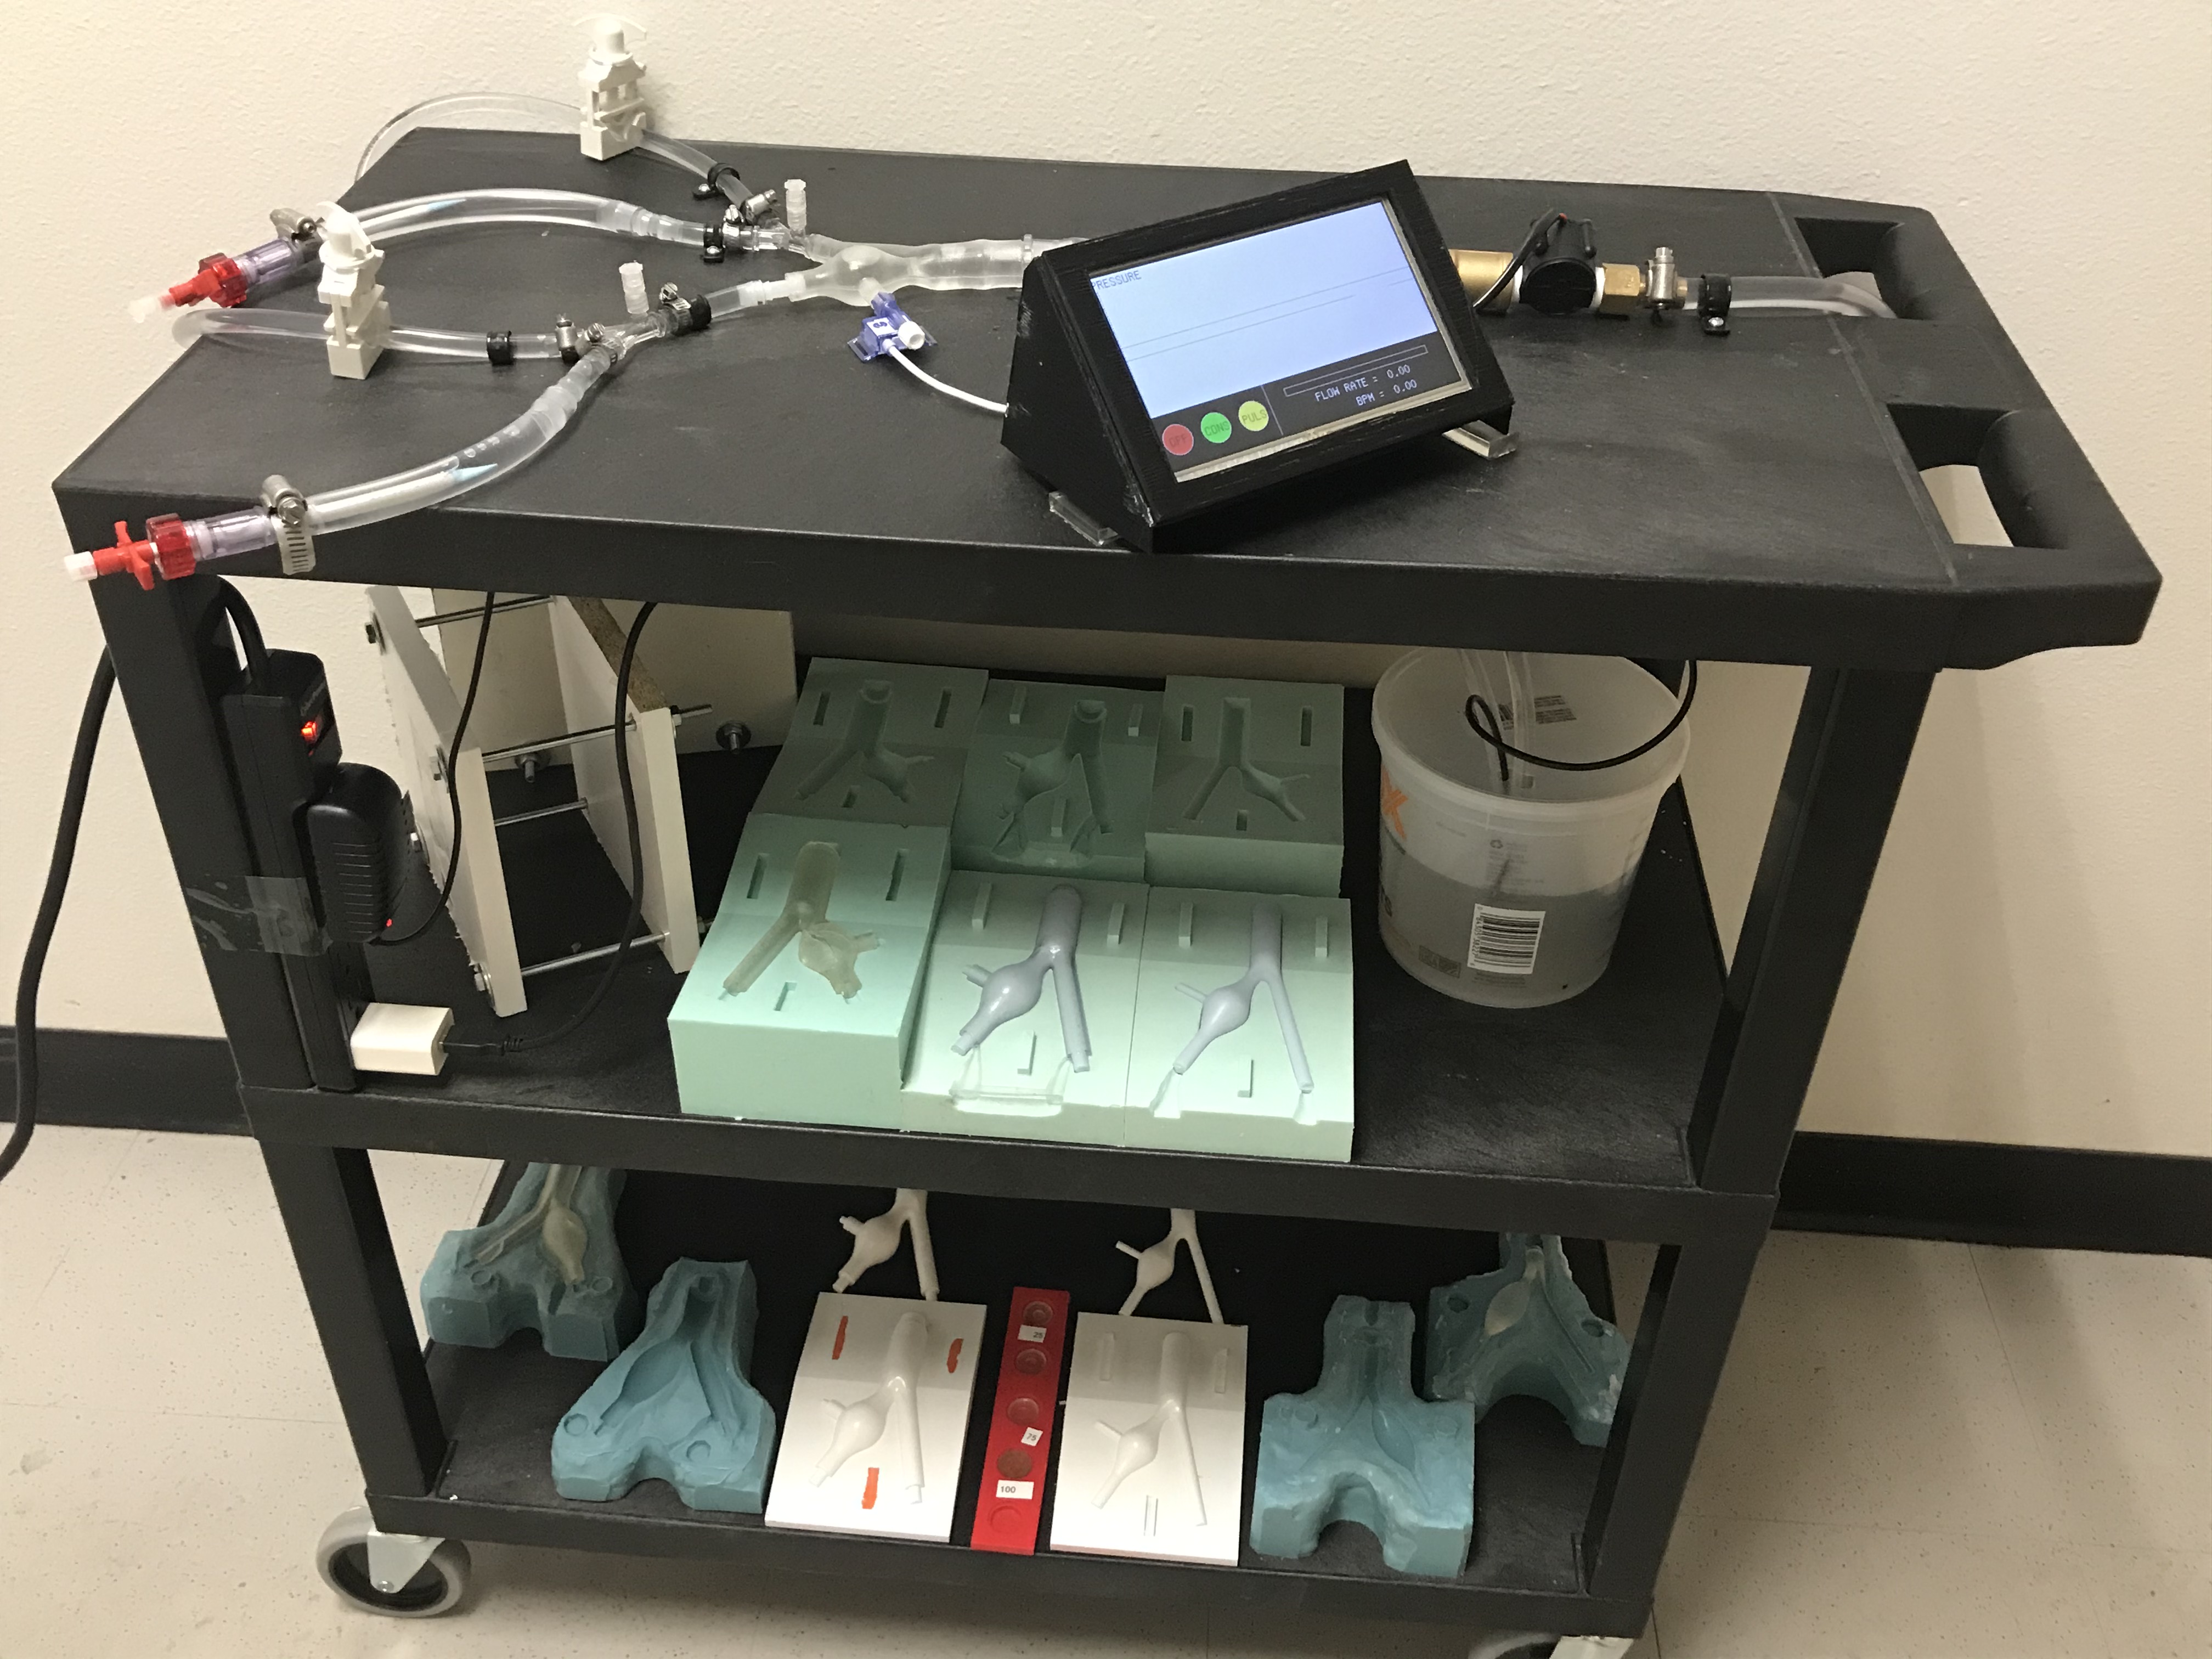
Final Product
The final design is coming together, the team is waiting on ordered parts and a 3D print for the actual GUI screen and boards.
GUI
The Team has a desire to have the GUI graph live data from the pressure transducer. This is proving to be more difficult than the team first realized. A new screen has been purchased because the team knows that this screen has the appropriate library for graphing live data. This screen will be delivered during thanksgiving week and will be able to be applied in the first week of December. Until This screen is in our possession the team will continue trying to resolve the issue with the original screen.
11/10/19
Final Product
This week the teams focus was to assemble the final design. While assembling the tubing for the system we realized that we were missing appropriate fittings and ordered proper introducers and couplings. One area of concern was the healthy tissue landing zone for the device. The team had discussed increasing the length of the iliac last semester and the plan was lost over the summer. The team decided to purchase enough barb fittings for all the models and to glue the barb to the model. The glue provided a leak free fSix while offering minimal barb entry and resolved the issue of the landing one. The team assembled as much of the final product as possible and found success with the new fitting and pump controls. watch on youtube
GUI
The GUI this week has been programed to run the pump with a continuous flow function in order to aid in priming the system. The flow rate can be controlled with a slide bar on the TFT screen. One the system is primed the pump can then enable a pulsatile function where the slide bar will control the BPM of the pump.
Testing
This week the team began their lubricity,
11/3/2019
Manufacturing
This week we finished 13 models and the team agrees that we should continue to cast to refine the manufacturing process. The desire to refine the process is to be able to remove all bubbles to increase strength and translucence. These bubbles seem to occur at random, the current process is 80% effective to remove these defects (Figure 1). A common issue in the method is trapped bubbles at the end of the legs of the iliacs (figure2). These bubbles can be removed by shortening the length of the iliac which will fall within the tolerances of the project.
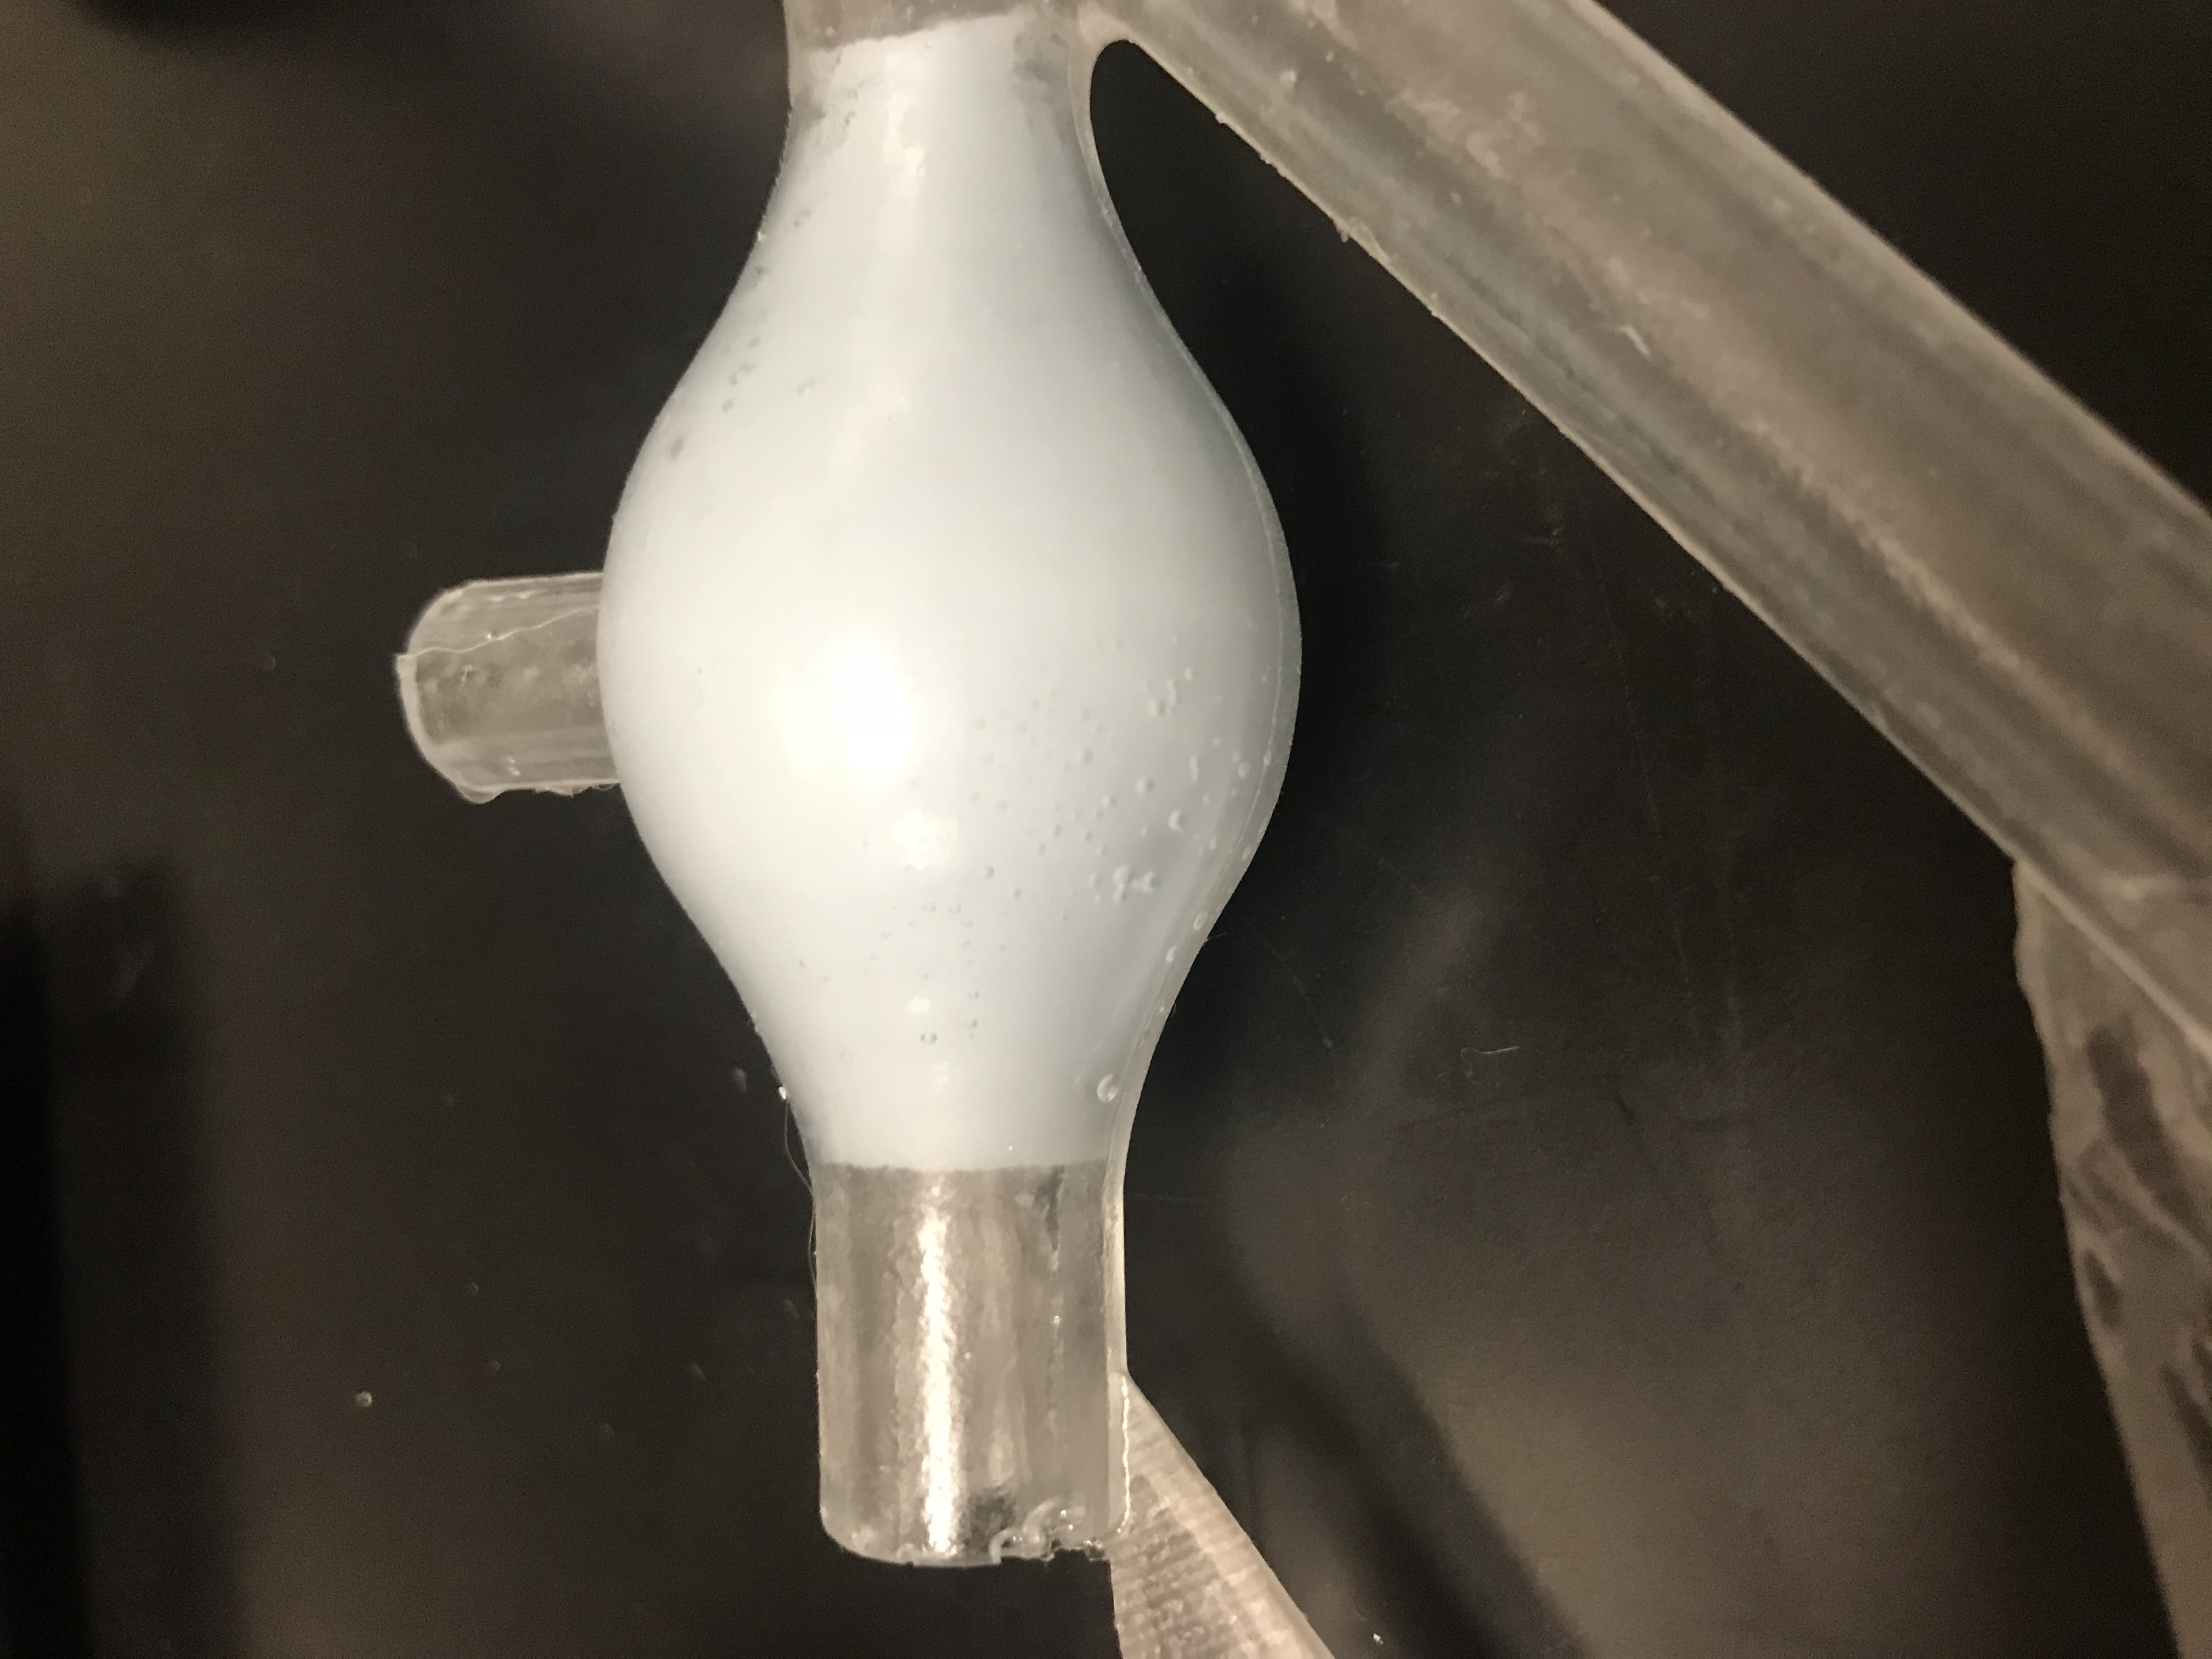
Figure 1: ariation is found on the surface of the anuryms.
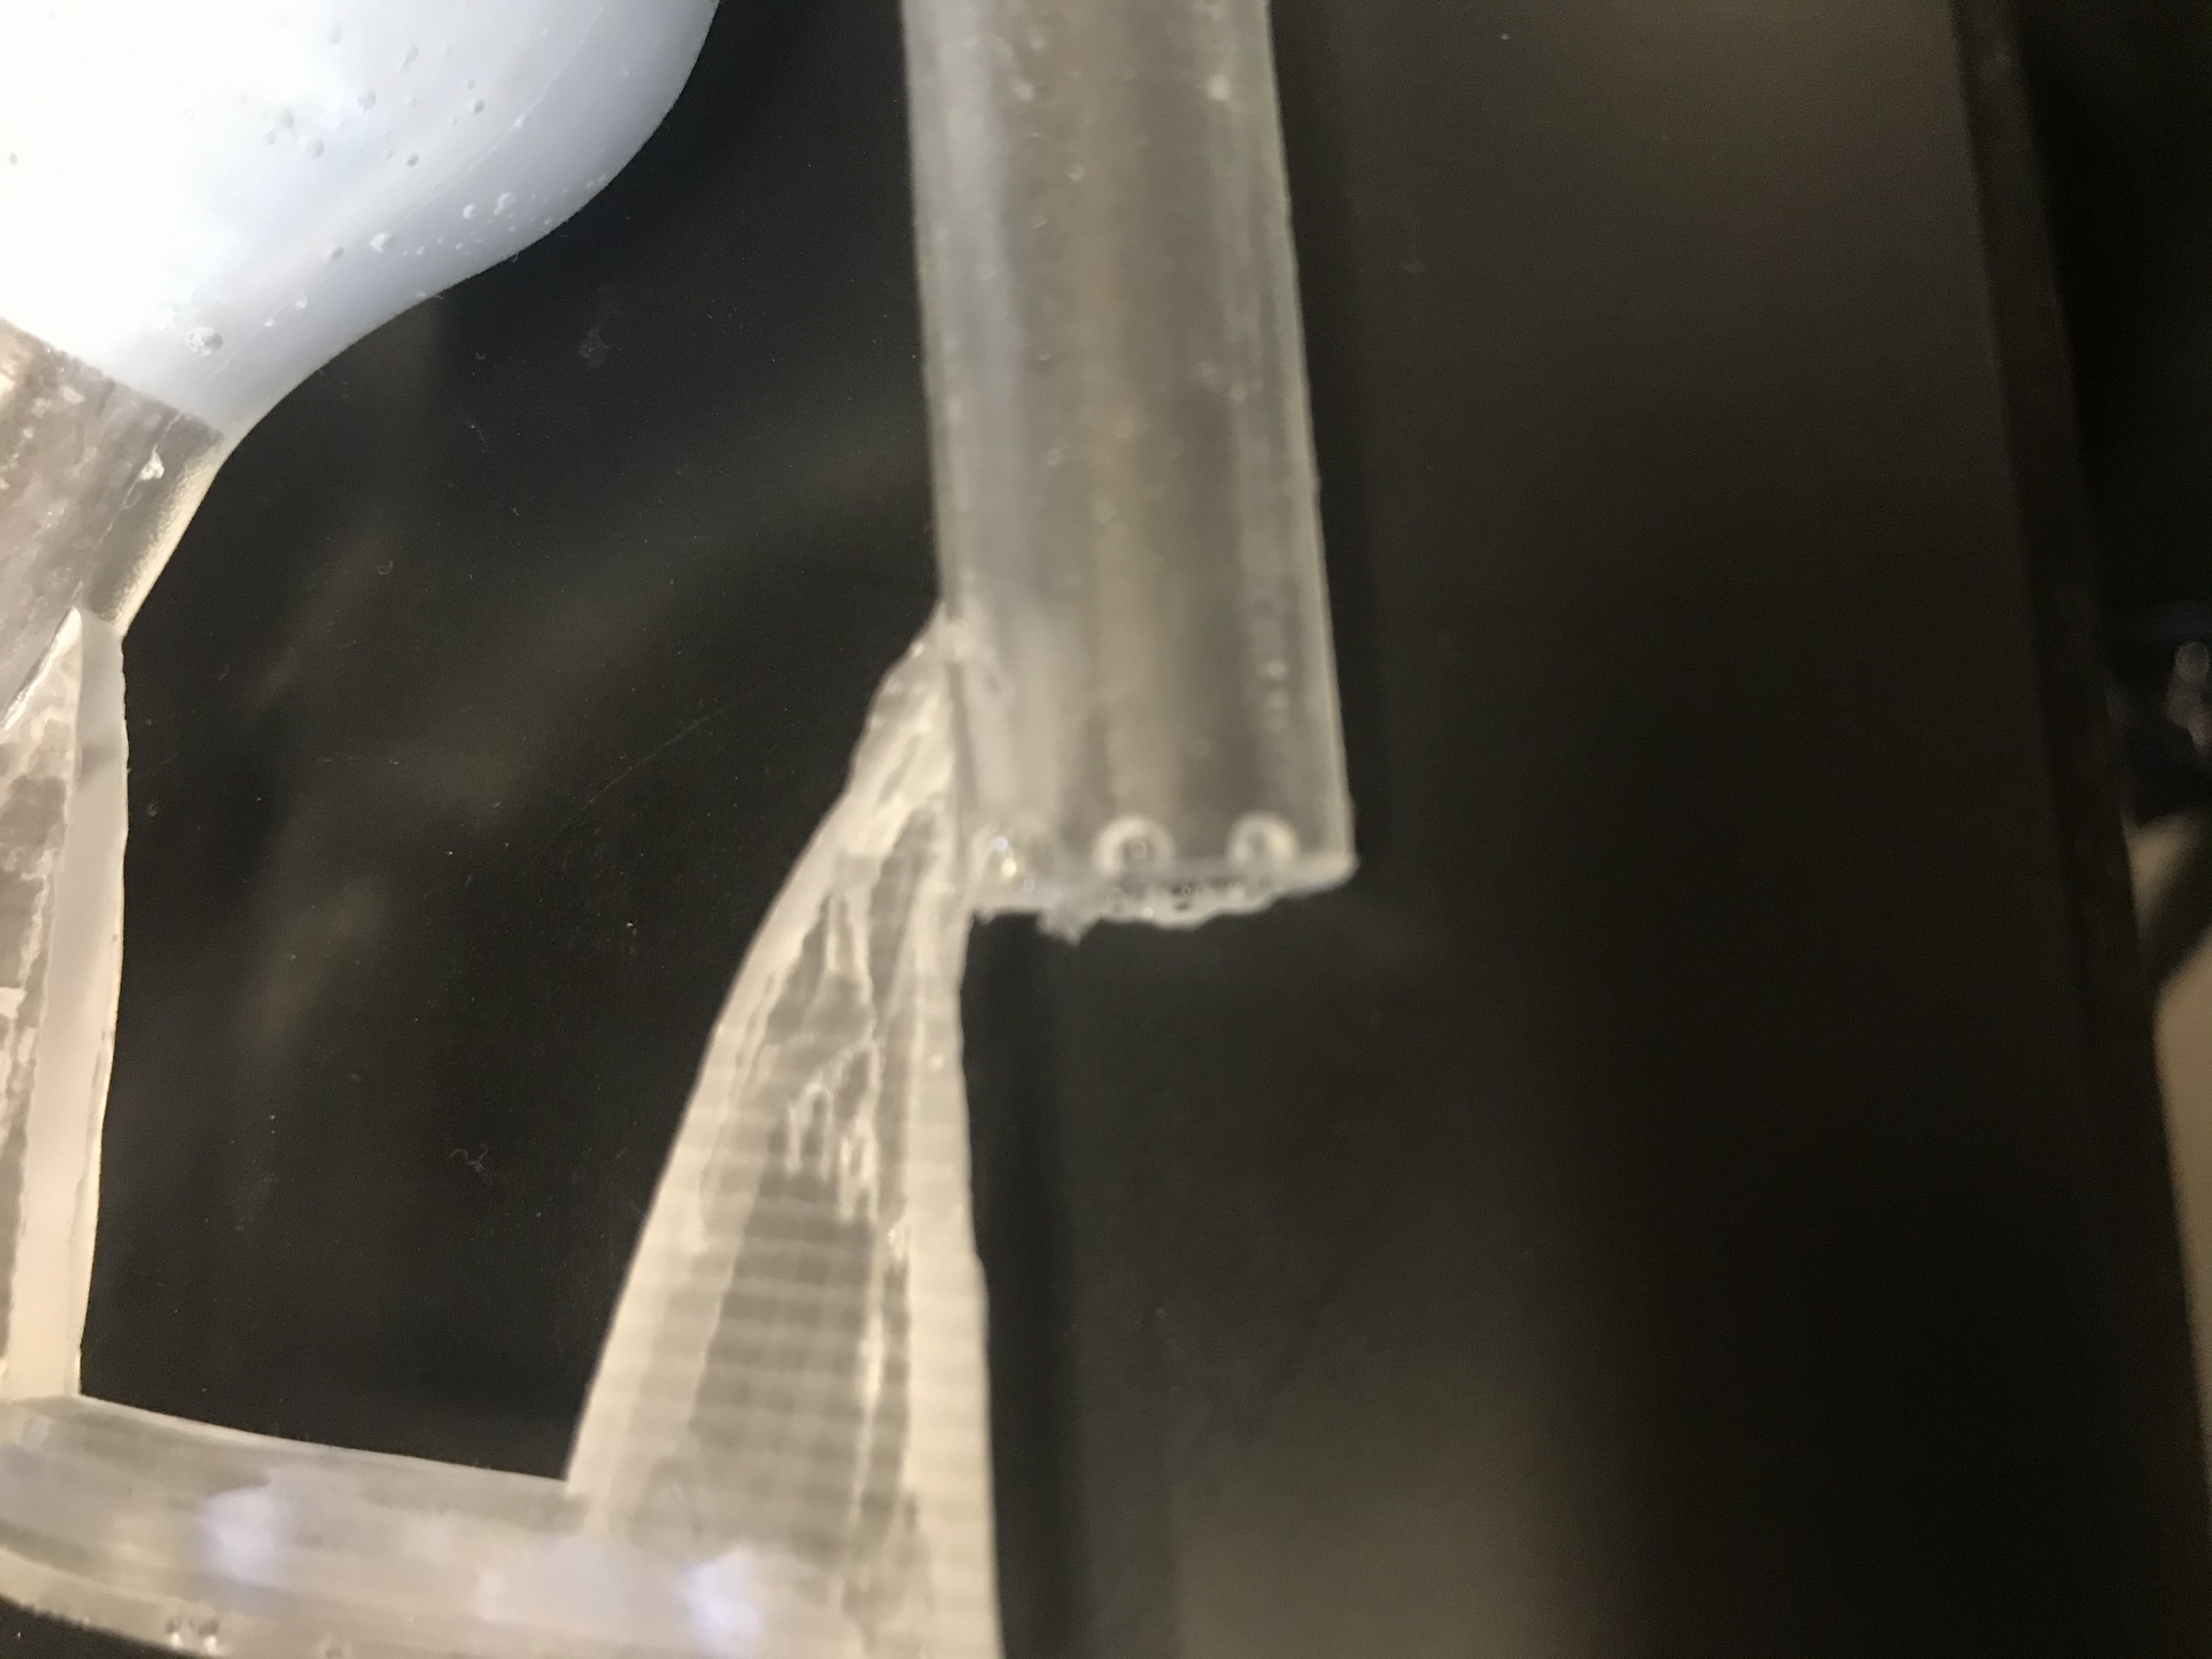
Figure 2: bubbles occur at the end of the iliacs.
GUI
This week the GUI screen has been updated to allow two different methods of pump control. In figure 1 the pump will be programmed for pulsatile flow and will have a slider bar to increase the heart rate of the patient. In figure 2 the pump will have continiuos flow settings that match the maximum flow of the heart, the RMS of the wave and the mean flow. The GUI is currently behind schedule this wednesday the pressure sensors will be tested and applied to the arduino.
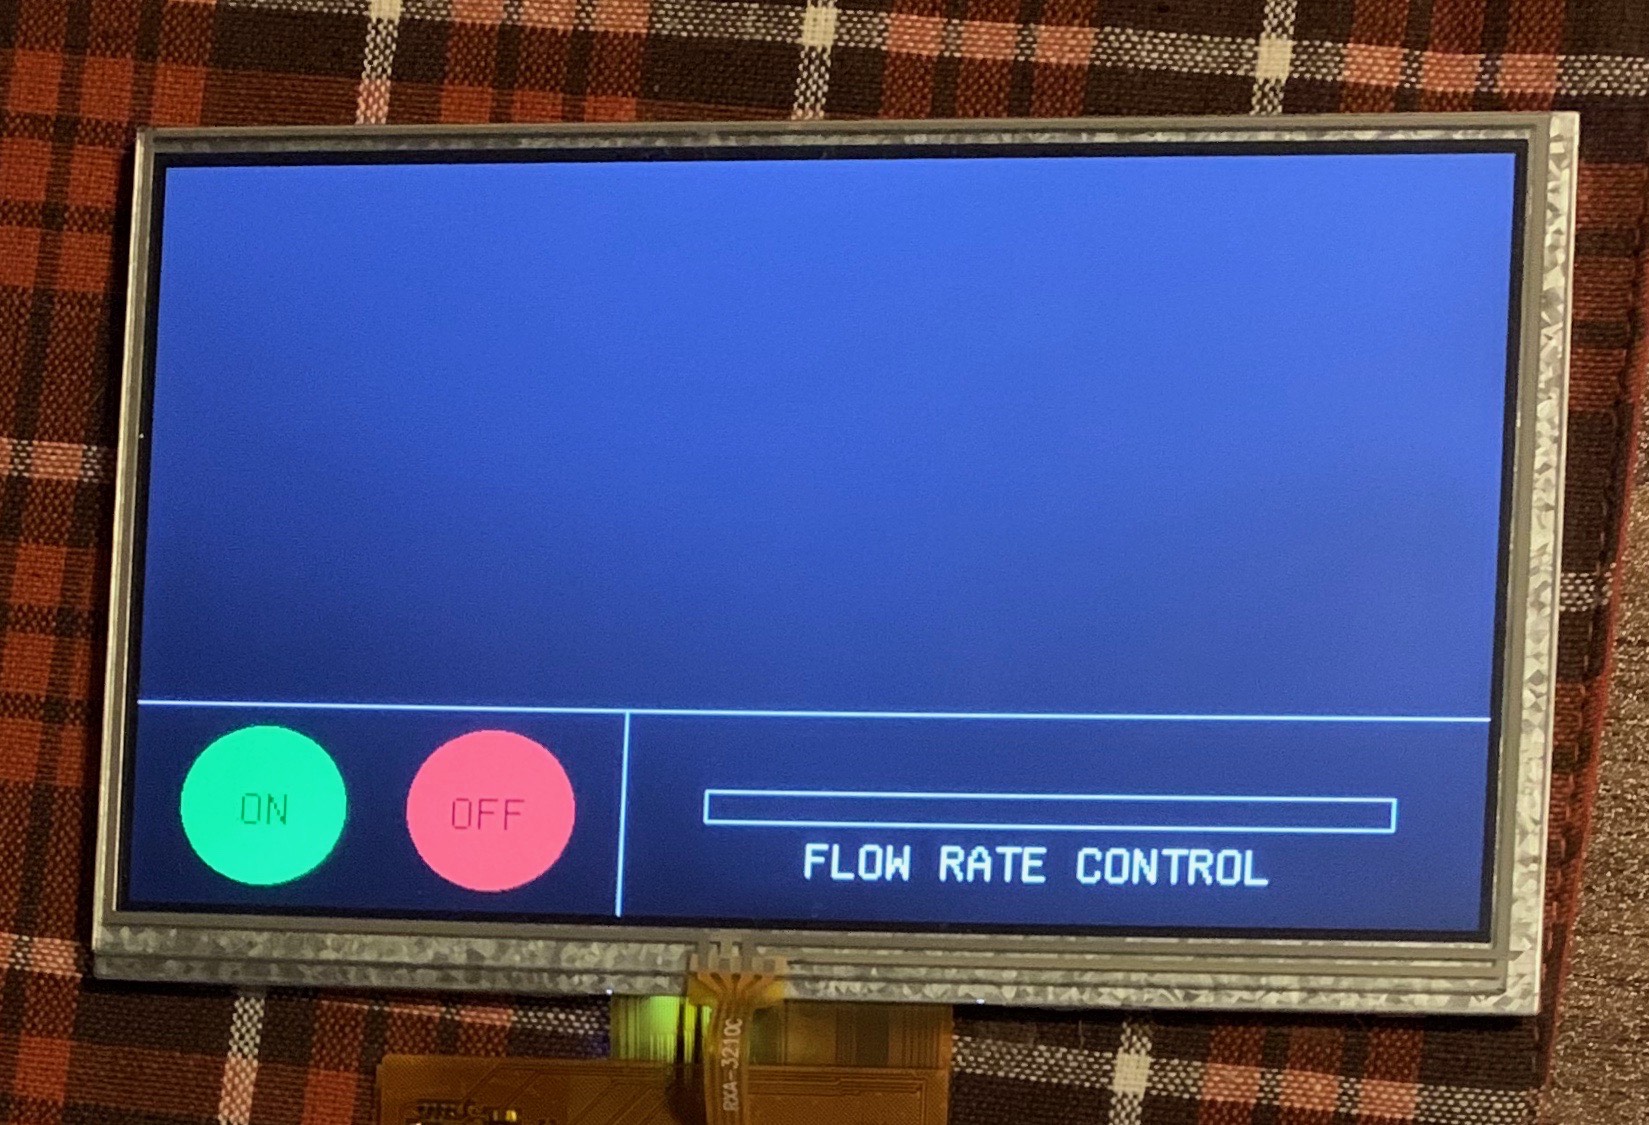
Figure 1
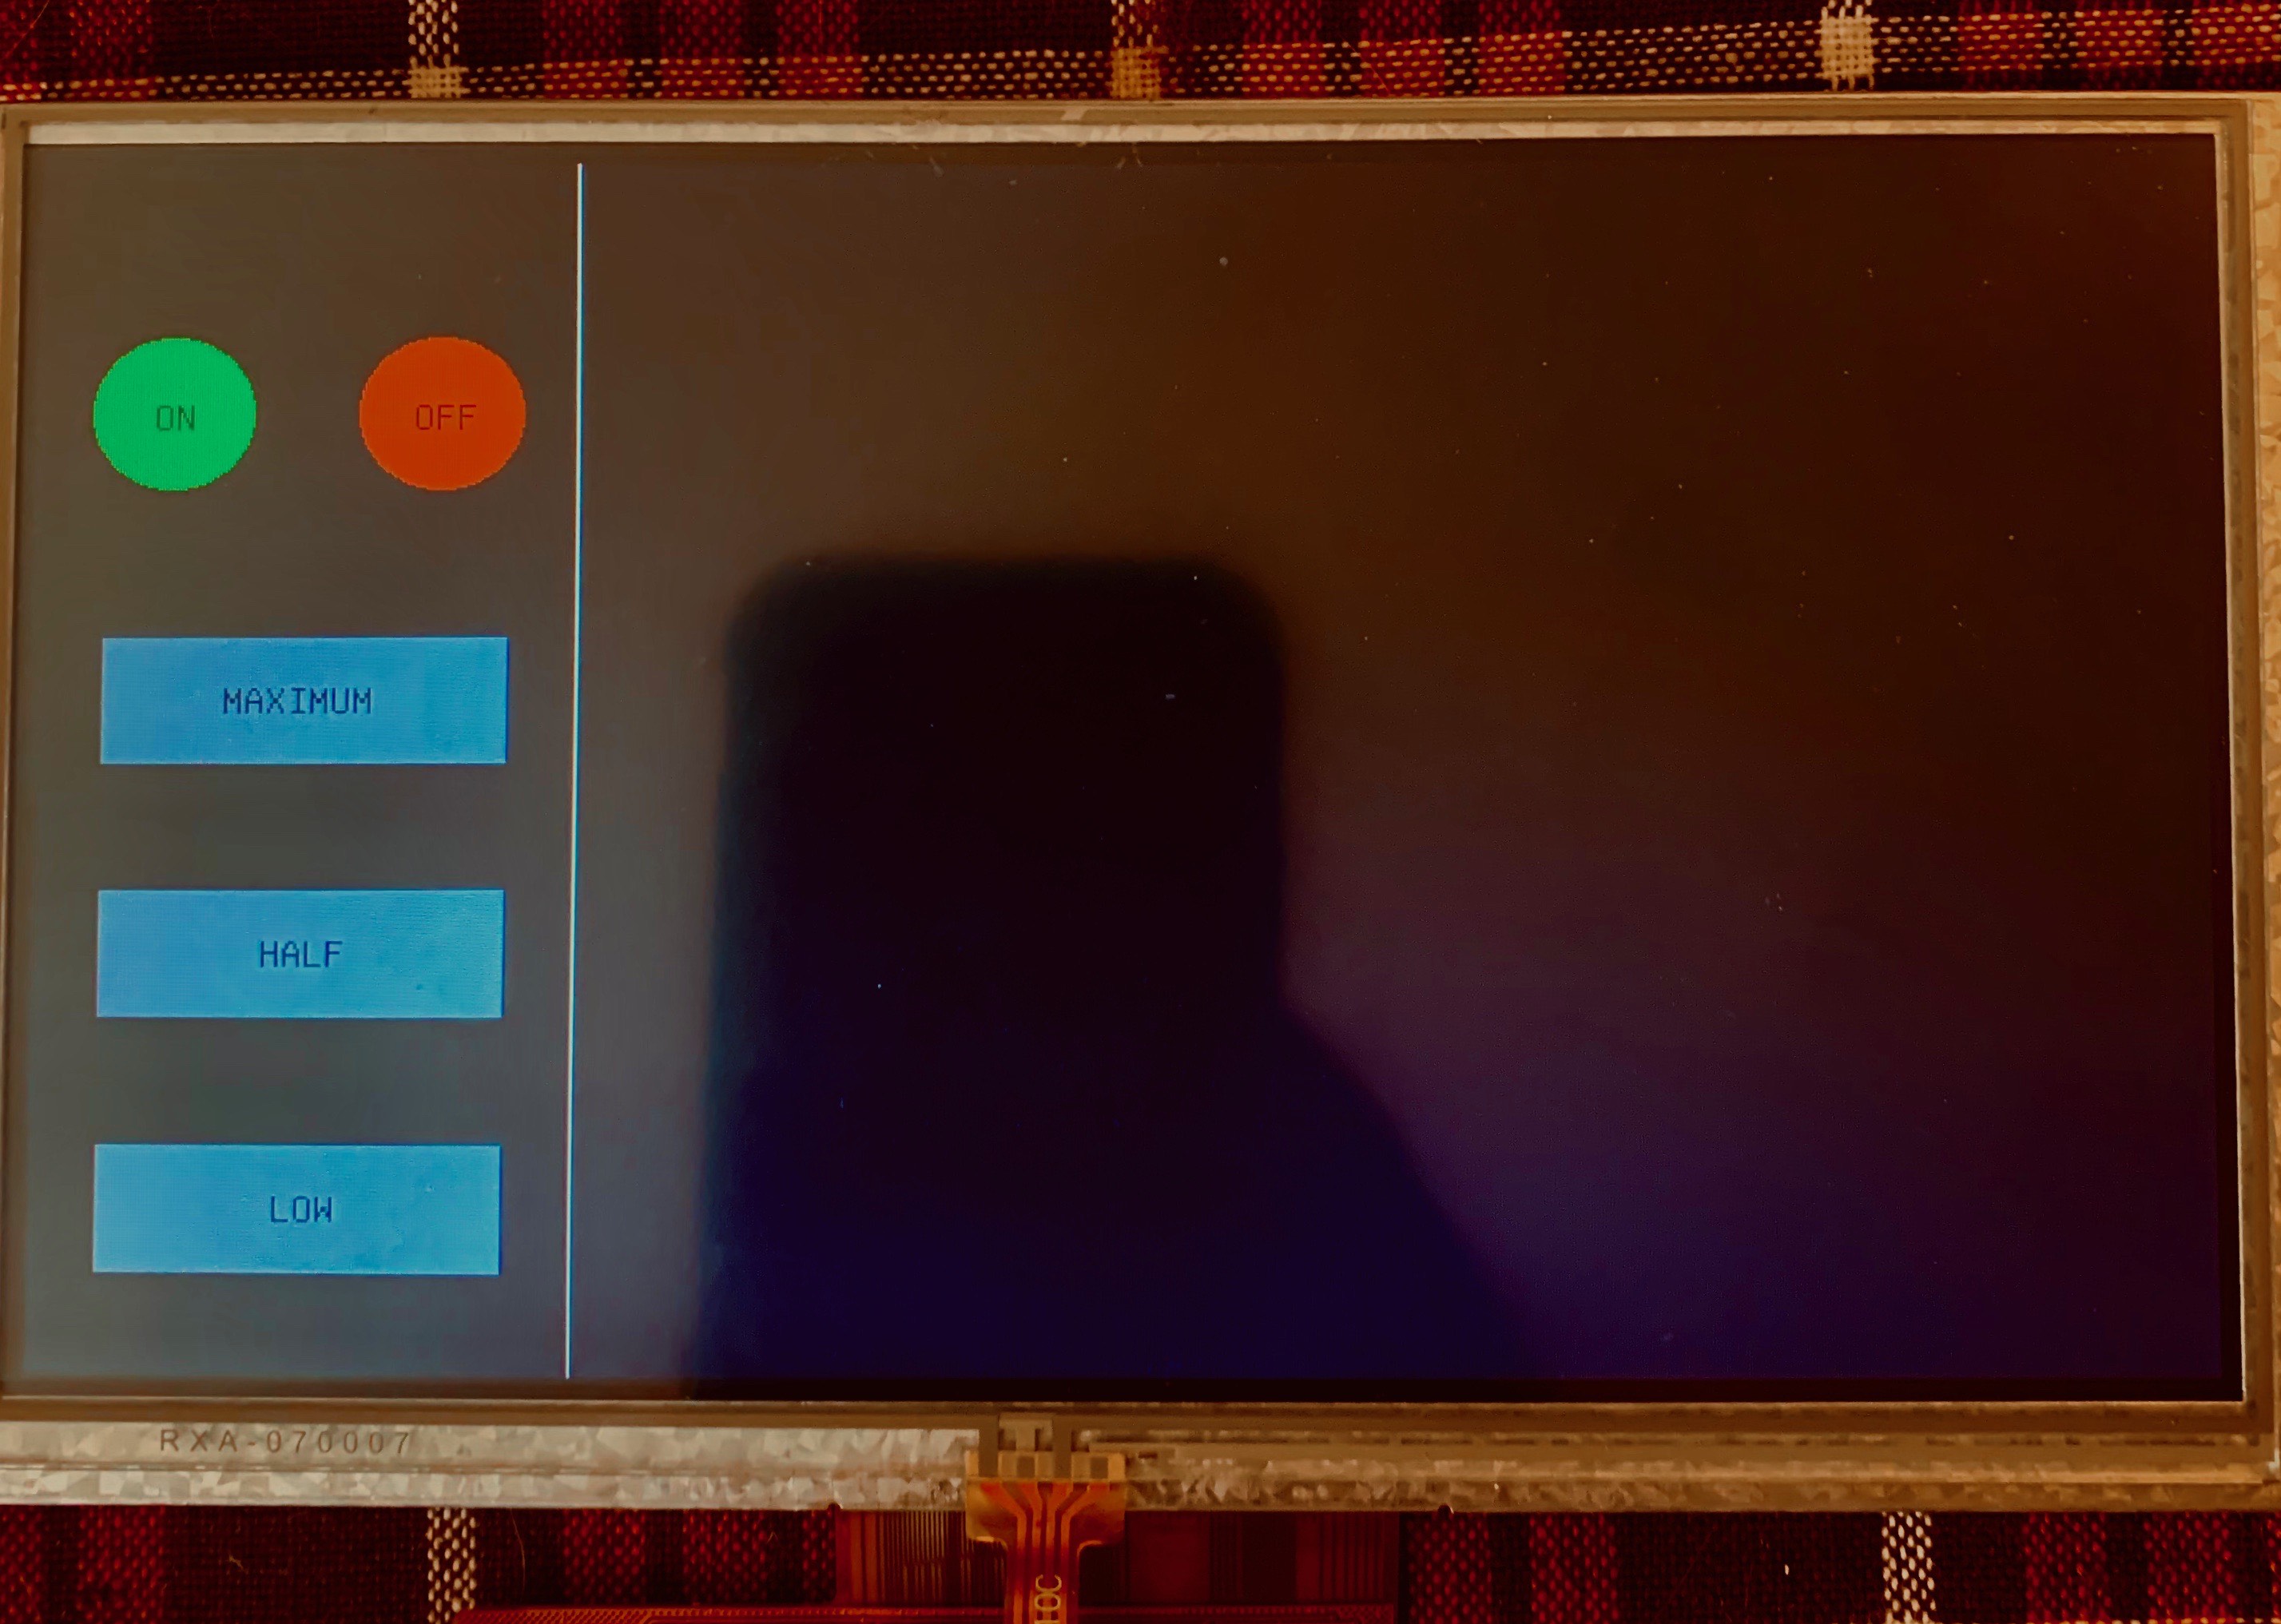
Figure 2
MISC.
The team is working on the final presentation, the final report, and the poster all this week.
10/27/2018
This week in capstone we successfully manufactured 6 more bifurcations. No wear to the silicone molds have been noted. A new pump has been purchased to increase its reaction time for the wave form data (see 10/13/2019).
10/20/2019
This Monday the team presented to the capstone class. This presentation was used to update our peers on our current progress and to inform every one of our future works.
Midpoint PresentationManufacturing
This week the project goal was to continue casting bifurcations. The team casts two bifurcations every Monday, Wednesday and Friday. After the bifurcations are demolded they are tagged, bagged, and placed into a box to minimize UV exposure. The tag information includes the model number, date of pour, exact mixture ratios and the silicone mold it was cast into. The team decided to add 10% CNC wax to the parafin wax due to brakage during demolding. This 10% would increase the strength of the wax but also keep the melting point lower than 200 degrees fahrenheit to not cause the polyurethane to melt.

GUI
For the GUI the team recieved hx711 amplifiers and a TCA9548A_I2C multiplexer. This week is going to be spent writing the code for these sub-systems to start gathering pressure data. An SD reader was provided to the team from Dr. Trevas to allow the GUI to store and export the gathered data. The SD reader will be implemented after the sensors are up and working.
misc
The necessary tubing and fittings for the complete design have been purchased. Once the GUI is fully functional the final product will be assembled and testing will begin. It is expected that the GUI will be fully operational on 11/4.
10/13/2019
This week we decided that the final models would be casted using the 75% mixture. It was decided that the 100% mixture had to low of a tear strenght. This was a qualitative decision due to the tearing that occured to the 100% model (figure 1).
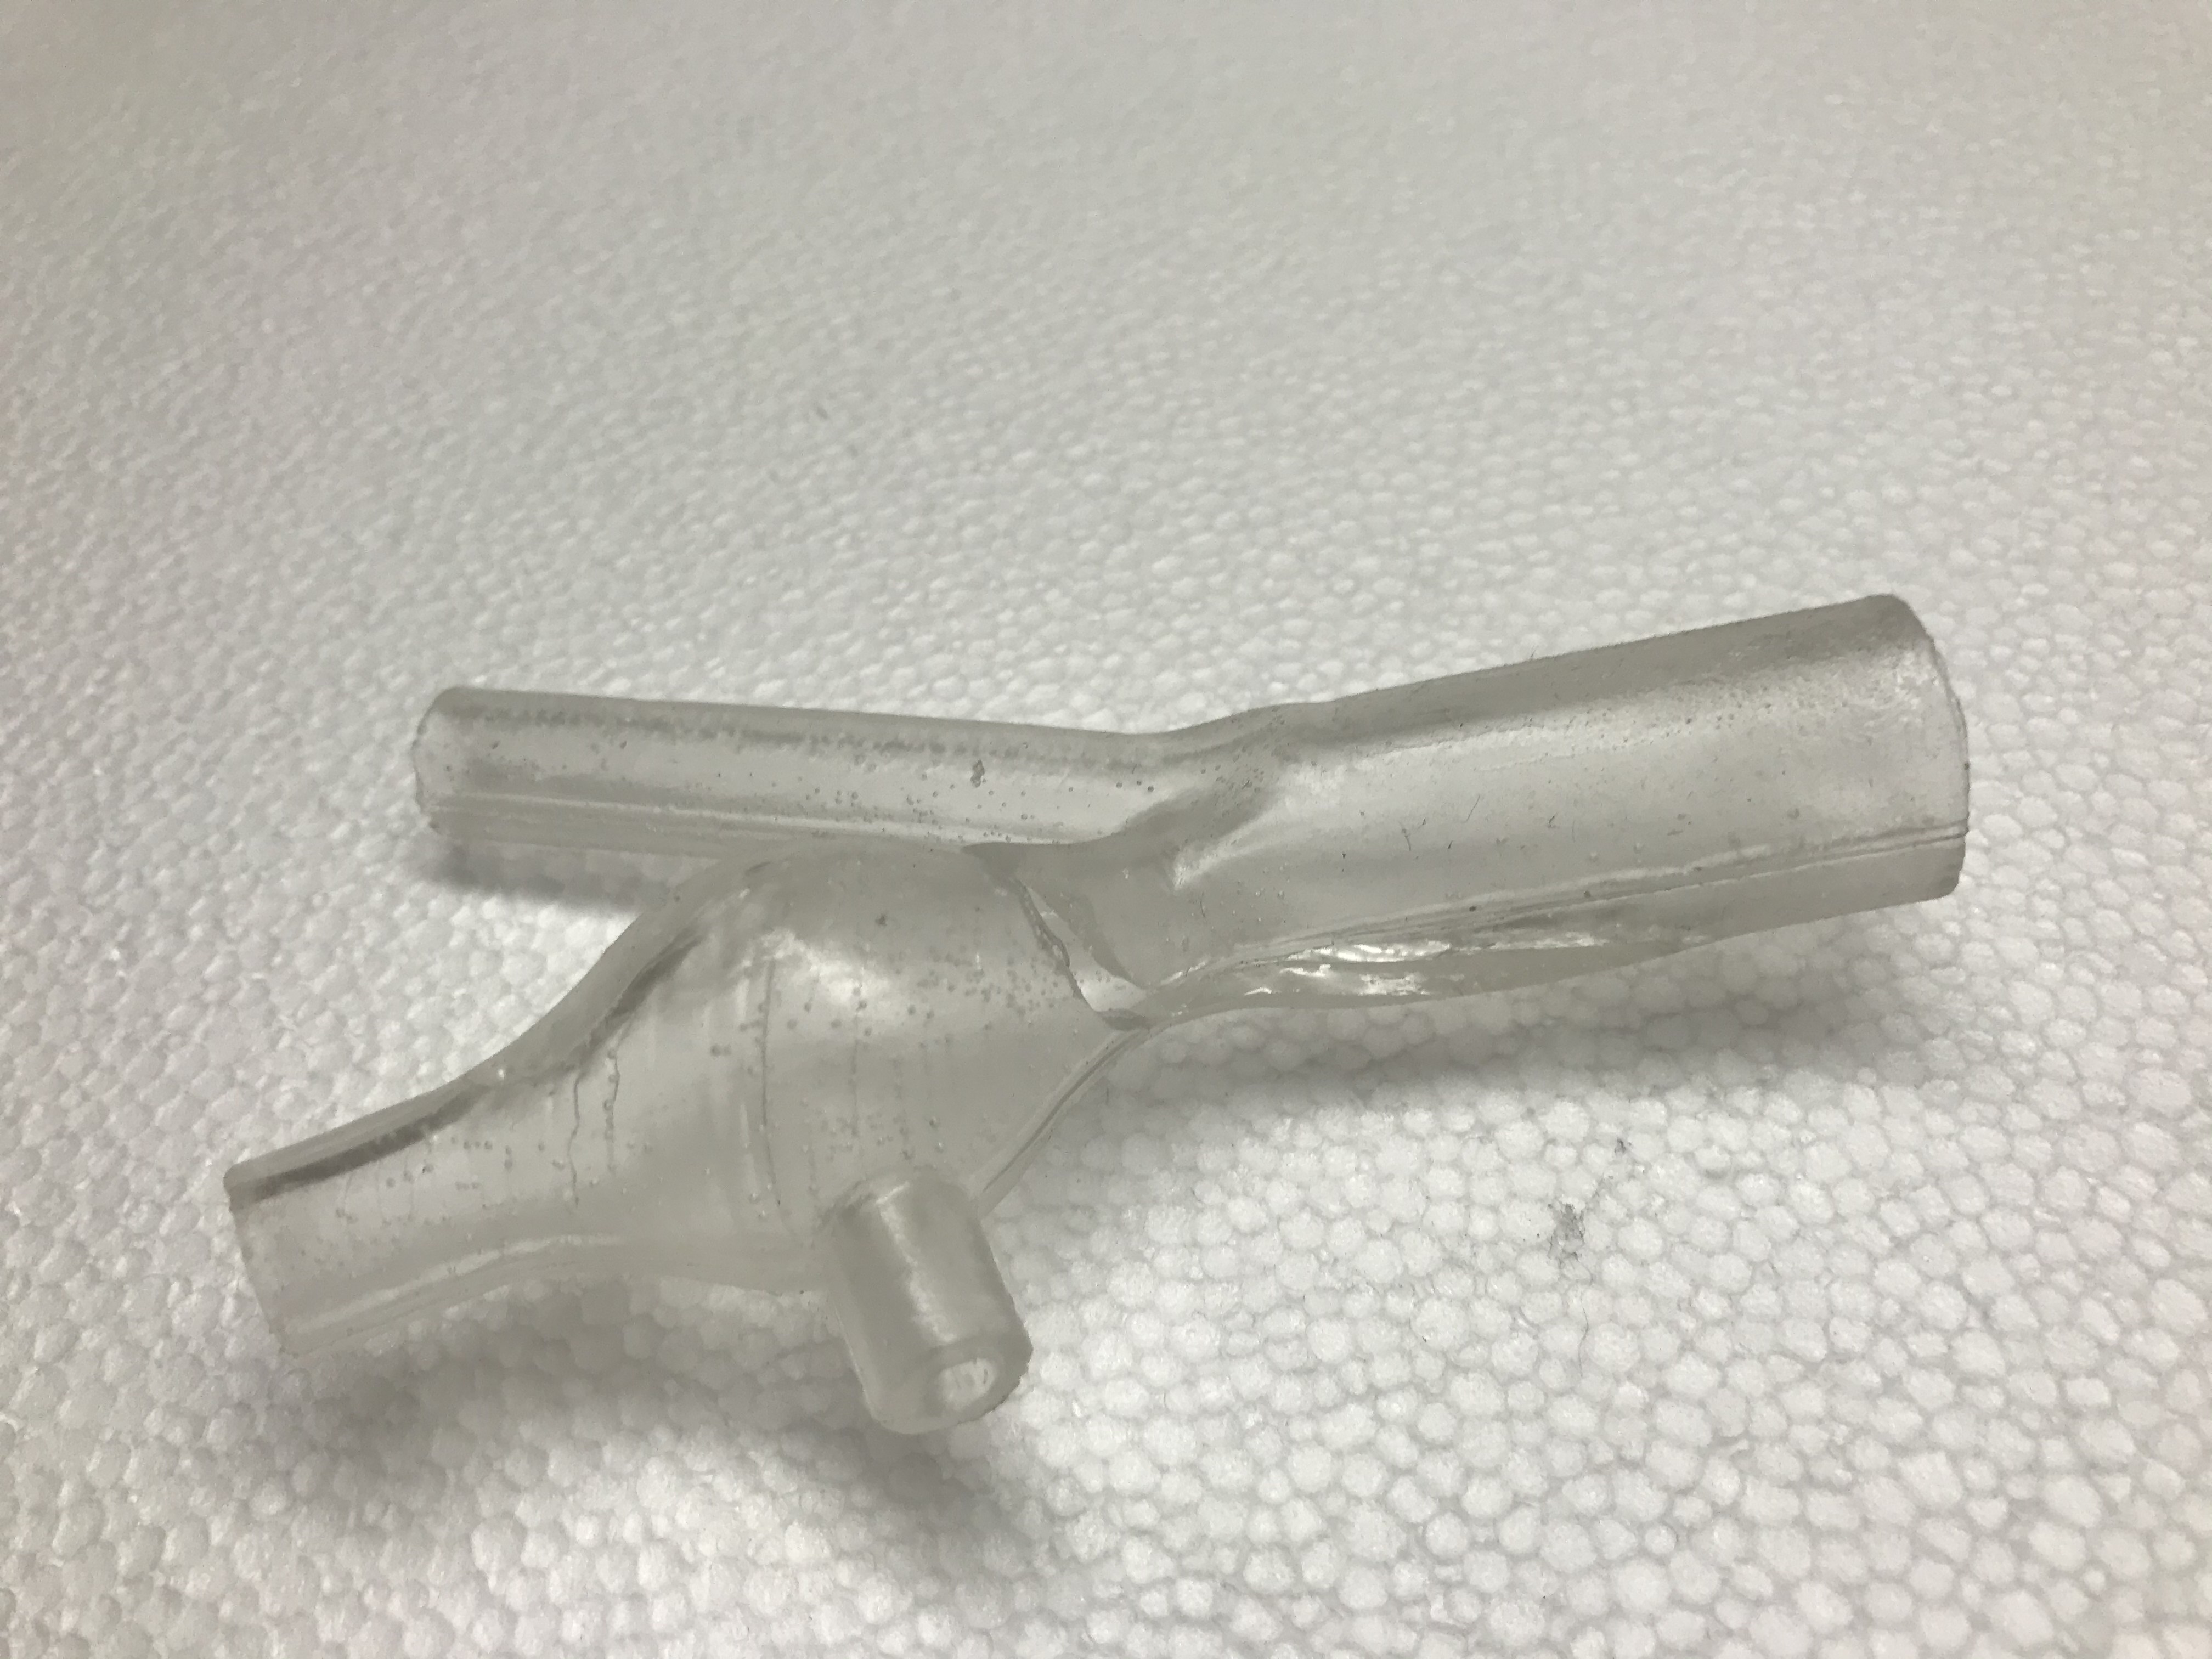
figure 1: Tear in 100% mixture
Figure 2: first 75% model
The team started testing the pump with the Heart beat data. We found that the pump could not produce the right speed desired in the short timeline of necessary. The solution was to find a pump that operates at a higher wattage (power) to increase the work that the pump can do on the liquid over a period of time. Since the speed controller works by turning the pump on and off rapidly to simulate low power the pump will be able to use full wattage in these time interals.
10/6/2019
Manufacturing
This week the silicone was released from the patterns. The surface was still soft and was allowed to cure for 3 days. After this period second half of the two-part molds were poured. The ream could not pin point the reason for the curing issue. It was believed that either the vapors from the acetone bath were still releasing from the model or that the wrong type of acrylic was used for the final coat. These molds were check at the end of the week and only the outer mold was found to not have cured completely. The molds were left in the fume hood over the weekend.
GUI
The pressure transducers were received this week and after reviewing the transducers Wheatstone bridge amplifiers and a multiplexer were purchased. Through research anatomical flow rate values time of the abdominal aorta were received and being applied to the pump. It was discovered that the pressure transducers would not be able to collect data while the pump was running. To correct this error the team began rewriting the pump code to invoke the millis() function to allow the Arduino to collect data during the wave cycle.
9/29/2019
Manufacturing
The team received the new platinum silicone and polyurethane. The silicone molds will be poured this week. We also received the ABS prints and started vapor bathing them using the same method as the PLA but with acetone. The results of this bathing method astonished the team. The prints revealed a glass like finish with no change to the model’s geometry. The model was lightly sand and bathed a second time. The prints were now completely free of printing lines and looked to be a water tight part. These prints we set to dry and then painted with primer and coated with a gloss acrylic finish. This finish is suggested by the manufacturer of the silicone to reduce the chance of the silicone not curing due to material interaction. The first half of the molds were casted and set to dry for 48 hours. Upon returning the silicone was not curing at the surface of the 3D print. The team was afraid to attempt to remove the print and decided to wait until the next week to allow the silicone ample time to set.
GUI
The TFT was programmed to have a background that had a start and stop button to toggle the pump. The team learned that they could use a speed controller to simulate a pulsatile pump. The first program that was written for the pump was a triangular wave form where the pump went from zero to its maximum flow rate. By the end of this week the team had the TFT working so that it could activate the pump and also stop the pump.
9/22/2019
Manufacturing
This week the team received the supplies necessary to do PLA vapor bath testing. This testing took place in Dr. Becker’s lab inside a fume hood. Each team member was required to wear proper PPE equipment when handling chemicals. After several tests on failed prints, the team followed a 20/20 method for bathing: 20 ml of ethyl acetate and 20 seconds. The bathing results were qualitatively smoother than before and the dimensions had not changed. The team decided to wait on casting the silicone until we could test the ABS prints. A cart to hold the final design was chosen by the team and purchased.
GUI
The GUI had its first success this week. The team was able to turn the TFT on and use it as a sketch plate. This validated that the touch screen was working and could be used for the functions that the team desired.
9/15/2019
This week the Arduino supplies were received at the end of the week. The team was still waiting for supplies before any manufacturing work could commence. A pump was also purchased this week for circulating fluid through the model.
Manufacturing
This week the team received 3D prints from cline library. The Prints that were received were flawed and could not be used to create the desired silicone molds. The team spoke with the MakerBot Lab at cline and they were extremely helpful in resolving the issue at no extra cost. This took multiple attempts to correct and the team looked to Dr. Testers Rapid Labs. This Lab has access to higher quality 3D printers that can print in several types of plastic, specifically ABS (see testing page). ABS prints were requested from Rapid Labs for vapor bath testing.
9/8/2019
Manufacturing
This week the team casted a 100% polyurethane model using the prototype silicone molds. There was concern for the strength of the 100% and the shelf life of our polyurethane from last semester. After casting it was noted that the part B of our polyurethane had become clumpy. The model that was casted using this material did not match that of the 100% samples casted last semester. To address this concern the team, order new polyurethane and a 60-shore platinum silicone to increase the resilience of the final molds. This week the team also order an electric pot and ethyl acetate to perform a vapor bath on the surface of the 3D prints (see testing page).
GUI
the GUI was decided to be ran using Arduino components. The team ordered a TFT touch screen for display and control of the system. A Mega board was purchased alongside of the TFT so that the pump, pressure transducers and the TFT could all be controlled by one board.
9/1/2019
The team completed the rheometer testing on the polyurethane's that the team created. It was noted that the 100% mixture had strong similarities to diseased tissue and the 75% closely matched healthy human aortic tissue. These data values cannot be presented until the journal article of the human artery testing is published. This data will be used to determine which polyurethane to use for the final casting.
8/25/2019
To start this semester the team needed to iterate their cad model. Flaws Were noted last semester at the bifurcation. The silicone mold halves were left with sharp edges and deterioration of the molds had already begun. The New cad Model smoothed out the curves at the bifurcation, this would allow for a smooth parting line in the silicone and would allow for anatomical fluid flow.
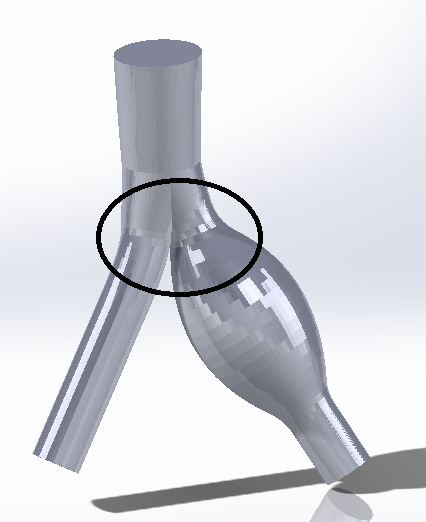
first semester
see prototype and concept selections