Home Page Project Description Process Final Design
Significant Milestones
| Deliverable & Date Due | Importance |
|---|---|
| CAD Drawings of Existing Lighters- April 6 |
|
| Fuel Test Results-April 25 |
| Works-like prototype- April 19 |
|
Design Report-May 4 |
|
Tools used during design
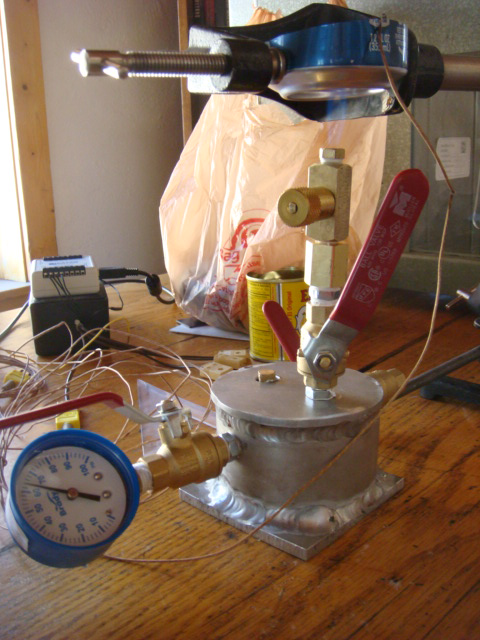
The main tool we used for our testing would be our built test apparatus. It is made of a small Aluminum tube with aluminum plates welded together. The various things coming off are pipes to hold the pressure guage, on/off valvues, and where the flame comes out.

Development process
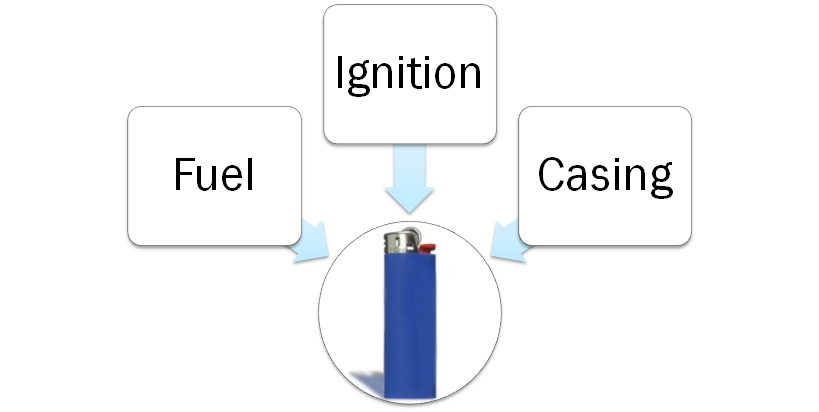
The team first started out with the goal to make a fully functioning lighter. The picture below shows our initial process.

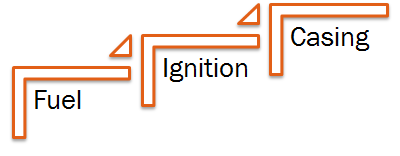
But with realization we had to change our process as fuel dicated how the rest of the components would come together. So we altered our process to be more like steps, with fuel being the first step to the lighter.

Problems/ trade offs encountered and how you overcame them.
Some of the problems we encountered was buying the fuel. Since this was a flamable gas and not something at a grocery store, we had to wait on testing till fuel arrived. To overcome this, we used PAM which uses our fuel as a propellent.