Testbenching
Construction
Finalization
When all the necessary electronic components where purchased, we commenced significant tests on each part to give us an assessment on functionality, behavior and know-how before all the parts interconnected within each other. With access to laboratories with instruments and equipment, we were able to record and test bench the necessary voltages, currents, and system of operations to have the product in full working condition. The following images show the process which endured several days of testing, part malfunctioning, reconfigurations, and interconnectivity.
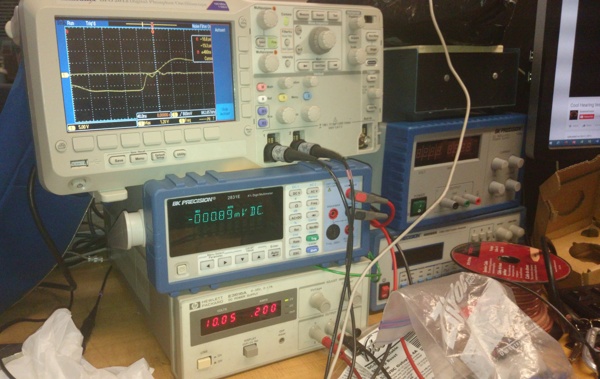
Instruments and Testing Equipment
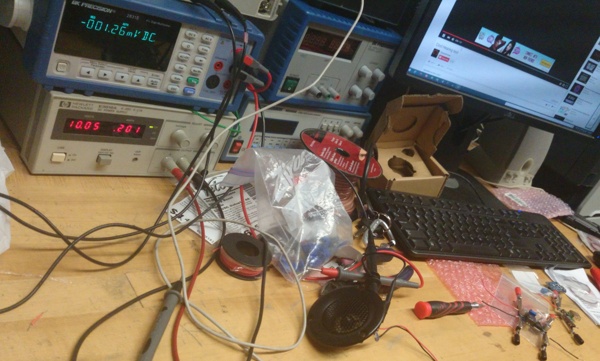
Testing parts and components
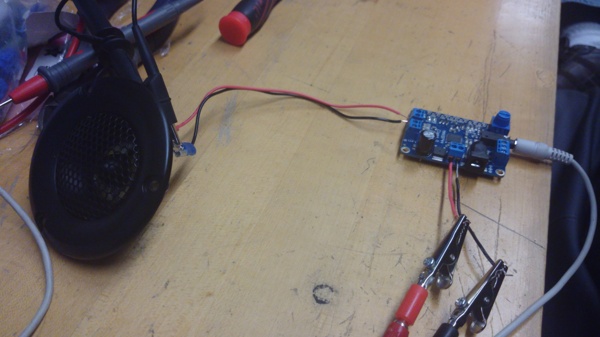
Tweeter and Amplifier testing
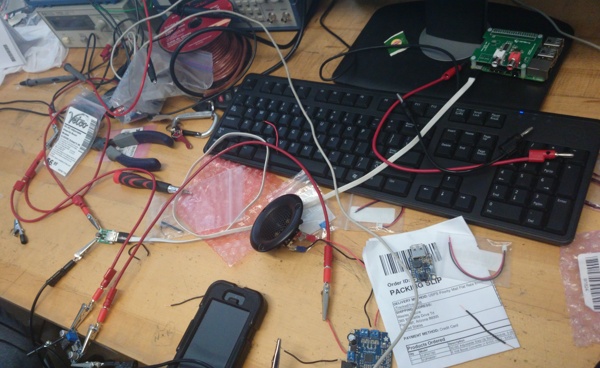
Connecting components together
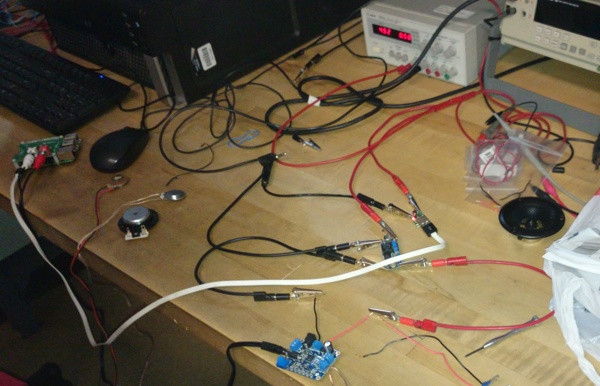
System in operation
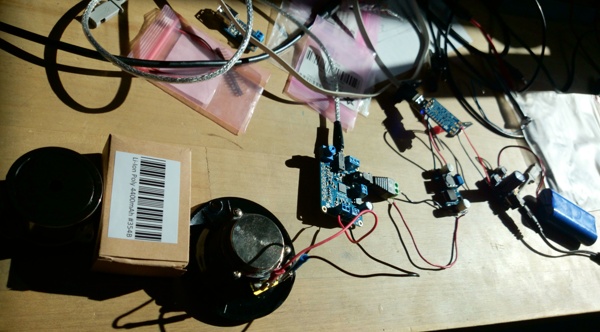
Reconfiguration of components and reduction of power consumption power
During the last two weeks, our group tested the components in the laboratory and finally programmed the Raspberry Pi 2. The adaptor worked pretty well under 5 Volt operation but broke down above 6 Volts. Moreover, the driver became difficult to program and we still considered to solve the problem. If the solution was too difficult to achieve, we eventually had to switch to another Raspbian image operating system for the Raspberry Pi 2.
After several revisions of our enclosure, reconfiguration of the electronic parts, installation methods in the enclosure, and most importantly significant thought process and research on the power sources for maximum possible, self-sustaining operation of our device, we merged all components together in full working condition. This was after a few weeks of consulting with the experts at 3D manufacturing located at building 98C, Engineering Fabrication Shop at NAU. Final product shown below…
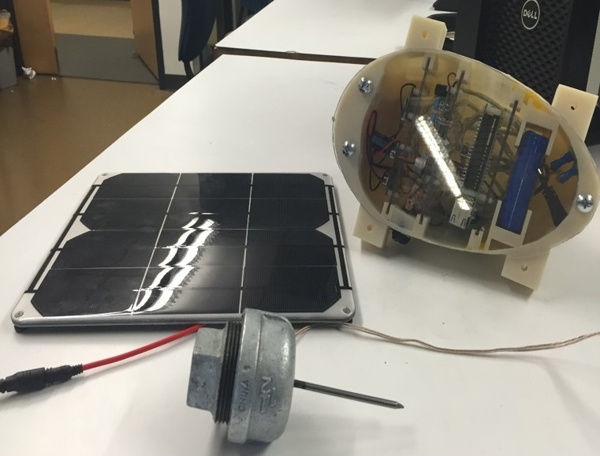
Internal view of components with plexiglass cover
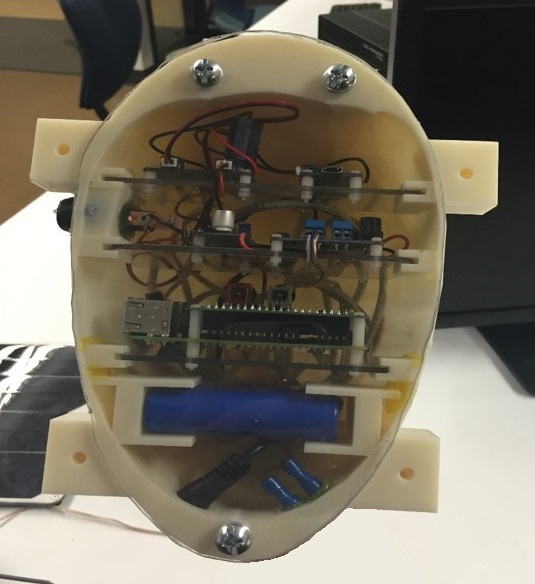
Close-up view of the components slotted and installed

Side view of the enclosure, with inducer connected

Solar panel size comparison and in operation