Project Walkthrough
Step 1
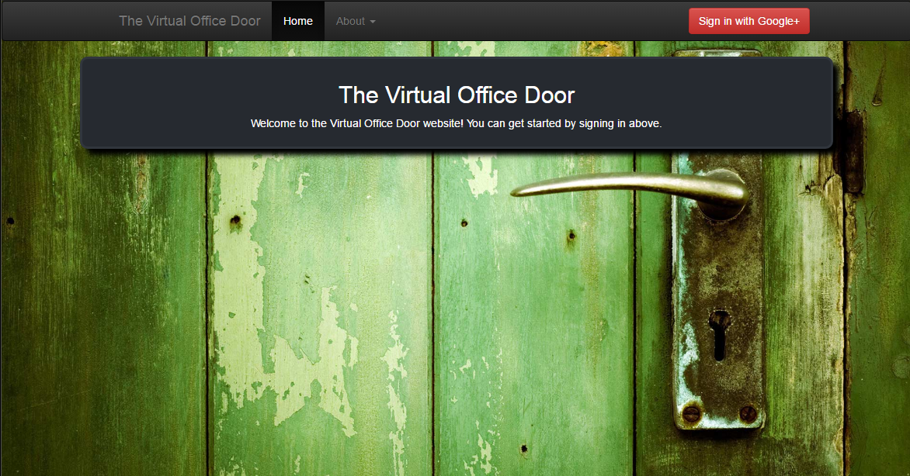
This is the home page for our web application.
Step 2
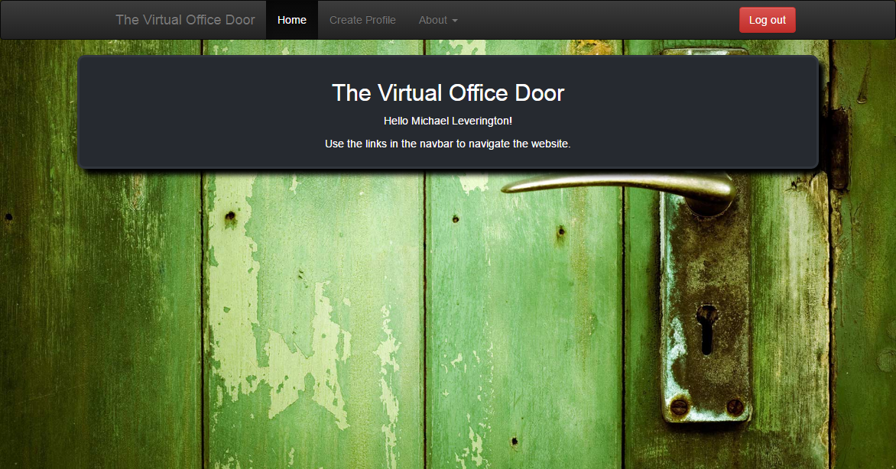
This is the home page after you have logged in.
Step 3
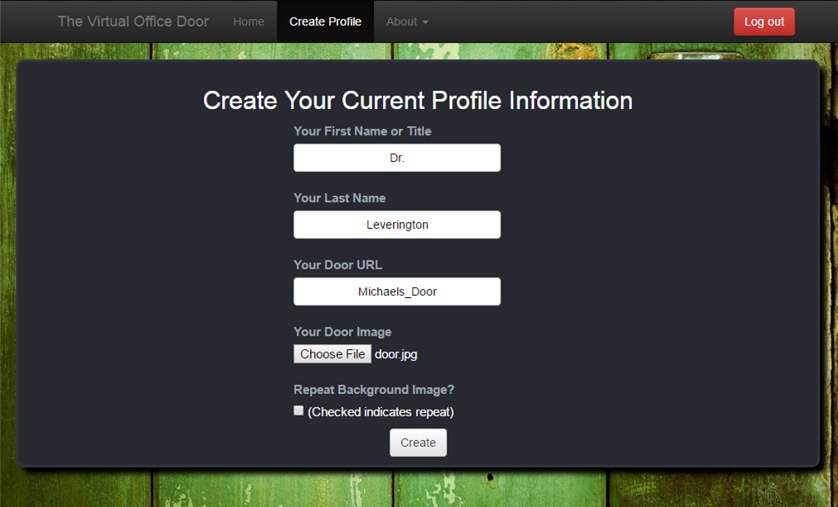
Now, you edit your door information. You can repeat the background image if the image is to small
Step 4
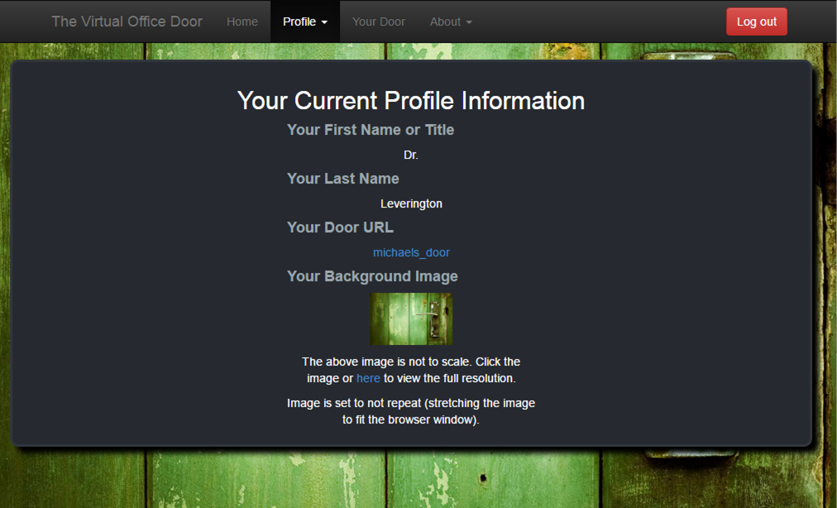
When you submitted the information, the screen above appears. You can also change the background image but for this walkthrough we will keep it the default.
Step 5
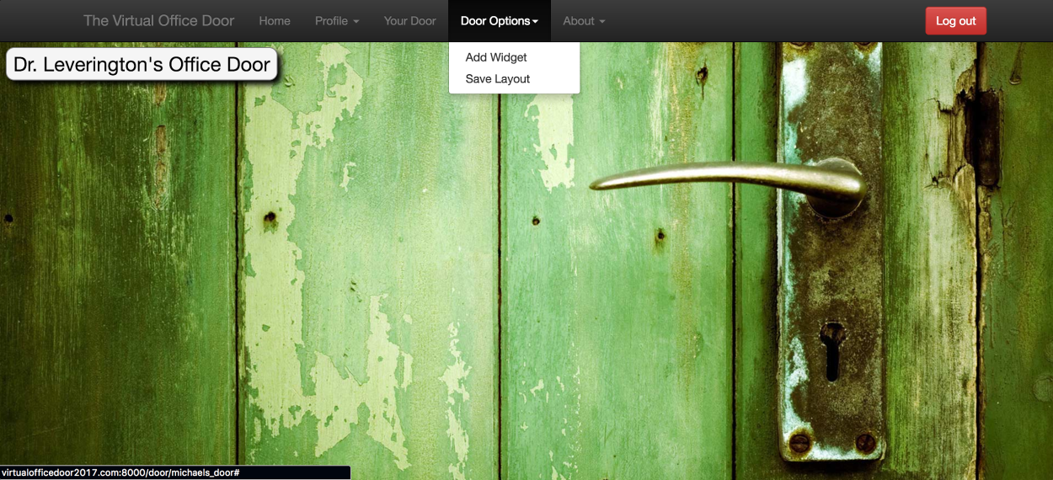
This shows how to add a widget to your door.
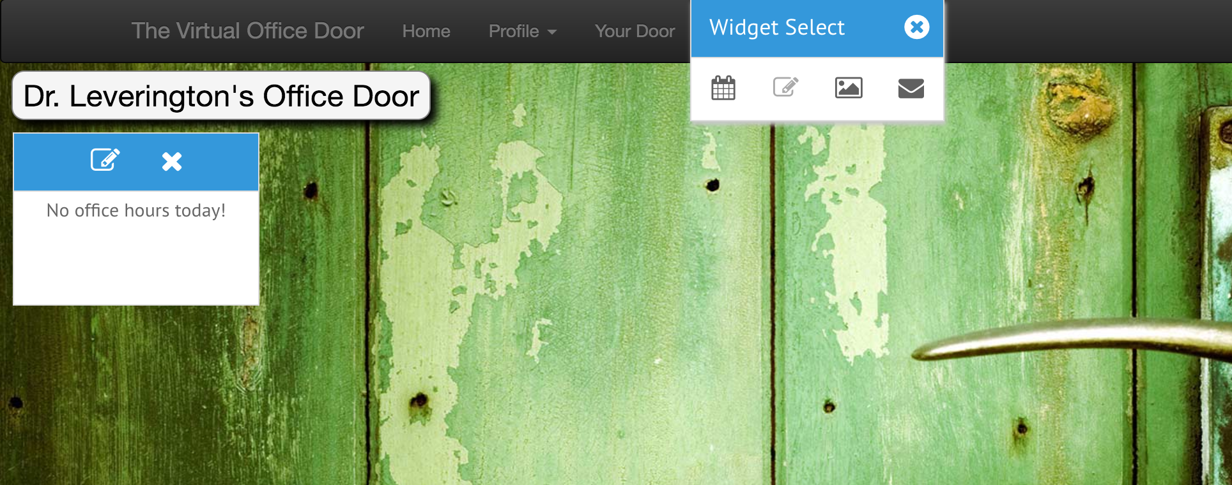
Step 6
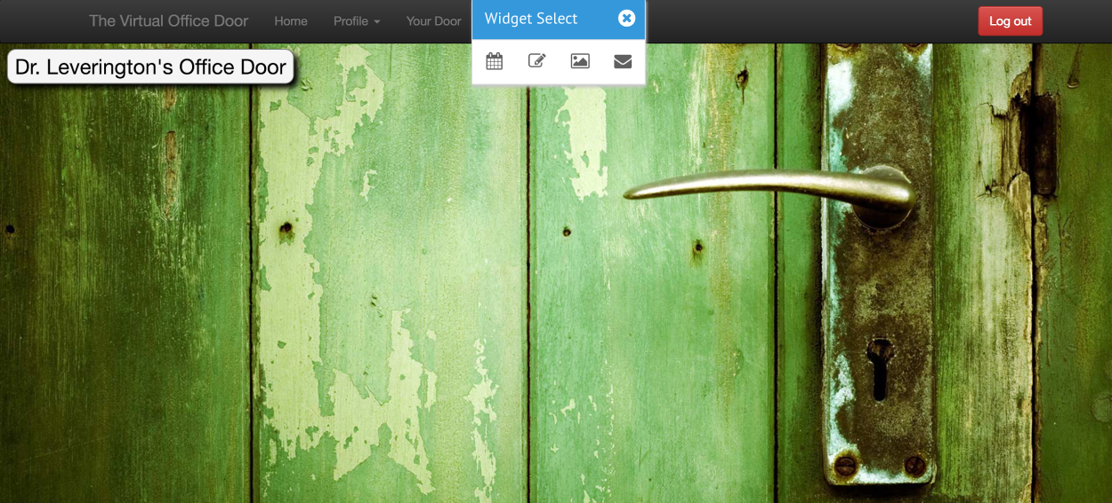
A widget selection gadget will pop up allow you to select the widgets.
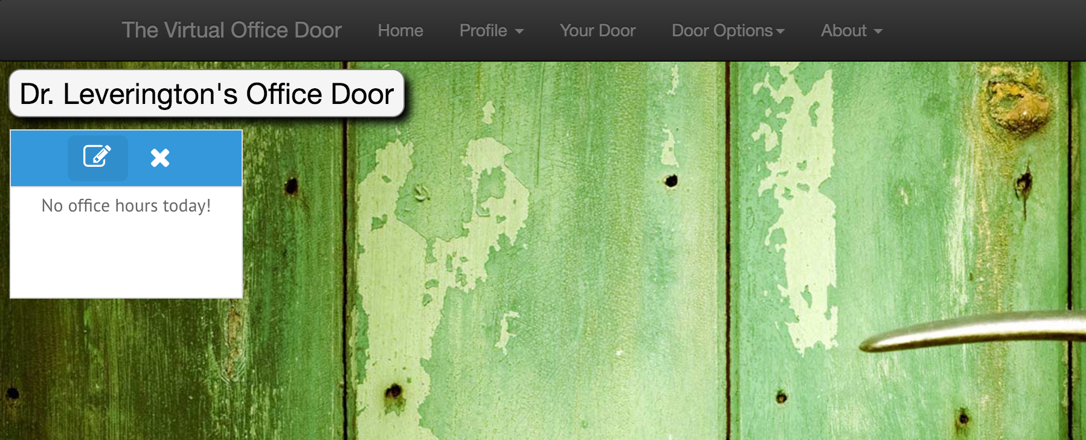
Step 7
A Sticky Note widget was selected and placed on the door.
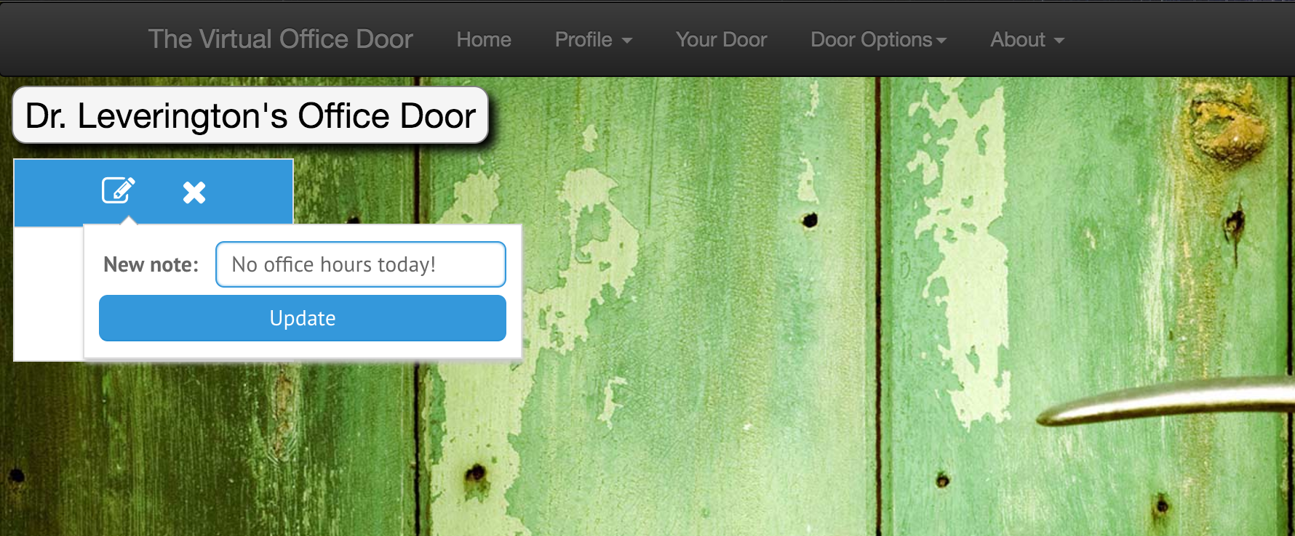
Step 8
The widget can be moved and a note is being added to the door.
Step 9
This is the home page for our web application.
Step 10

This is the home page for our web application.
Step 11
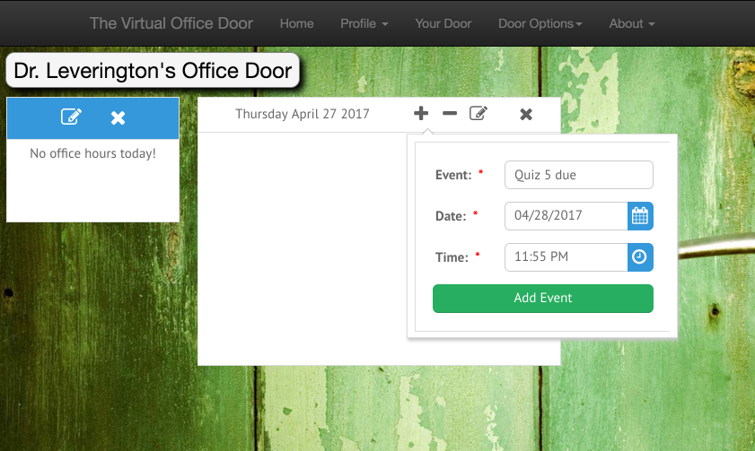
The screenshot above another widget being added.
Step 12
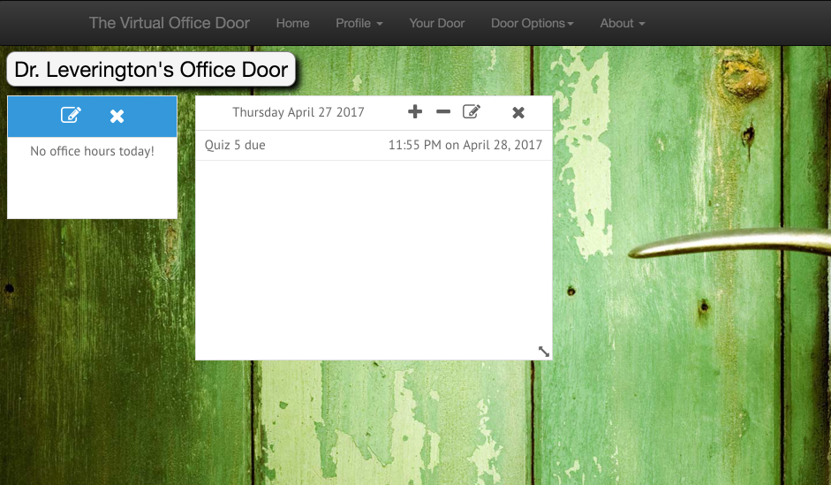
The calender widget was chosen and added to the door.
Step 13
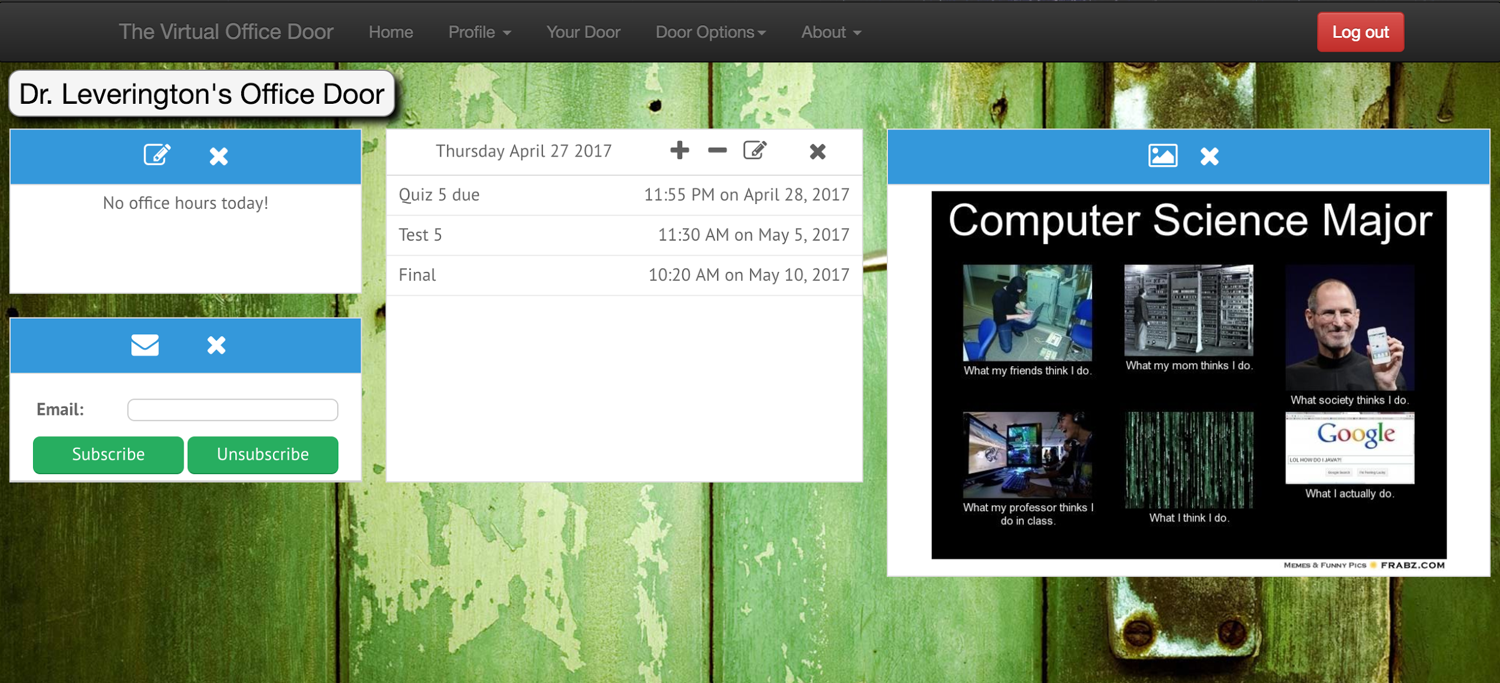
The screenshot above shows a finished door shown from the owner logged in to the door.
Step 14
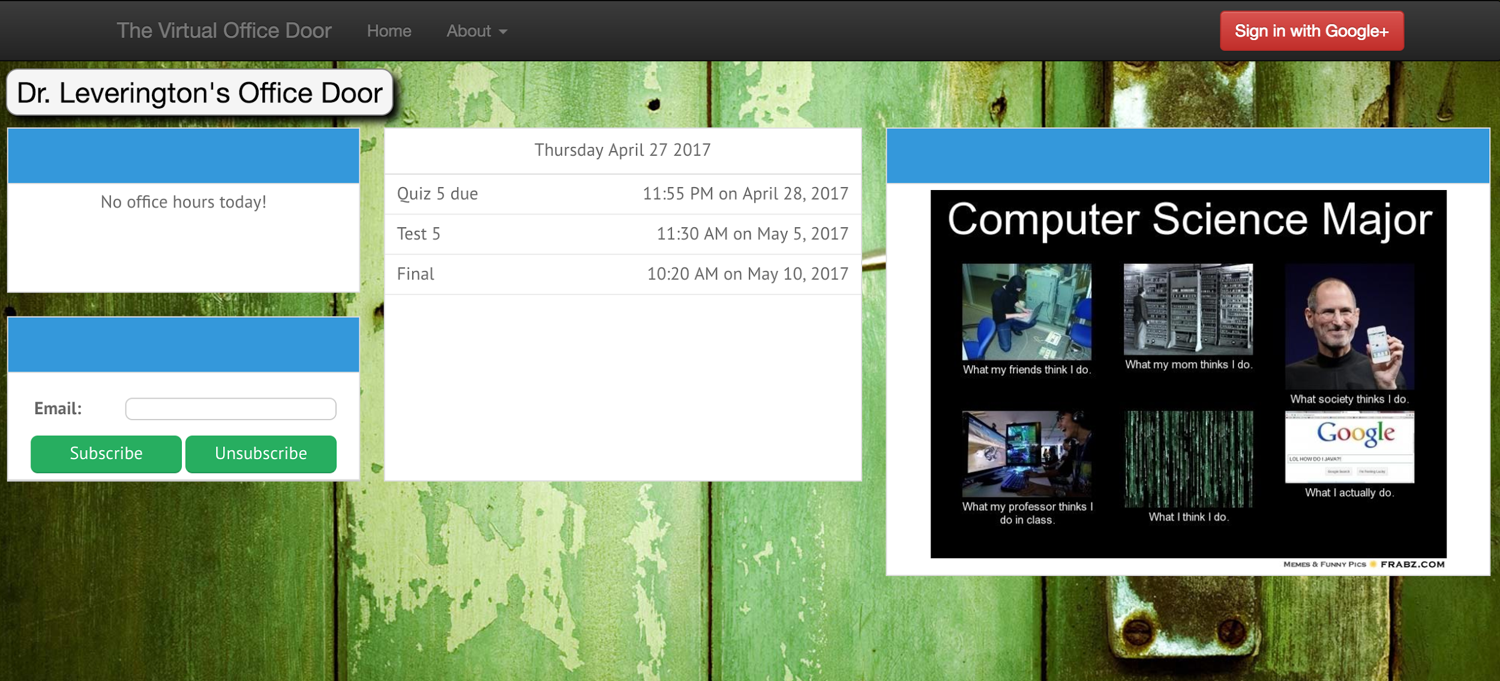
The screenshot above shows a finished door shown from a person not logged in to the door.